Gate 3 of 4 — stills approval precedes clip animation
Gate 4: Assembly →Sophie's Story — Gate 3: Scene Stills
The eight new scene visuals, each generated from the locked references. These stills are the exact animation sources for the scene-by-scene clips — approve them and production animates each one image-to-video for the 60s cut.
Shot 13 & 14 retakes are ready for review → — three replacement takes per shot: Shot 13 fixes the garbled story-page text; Shot 14 locks the printed photo back to Sophie.
Shot 3
Memory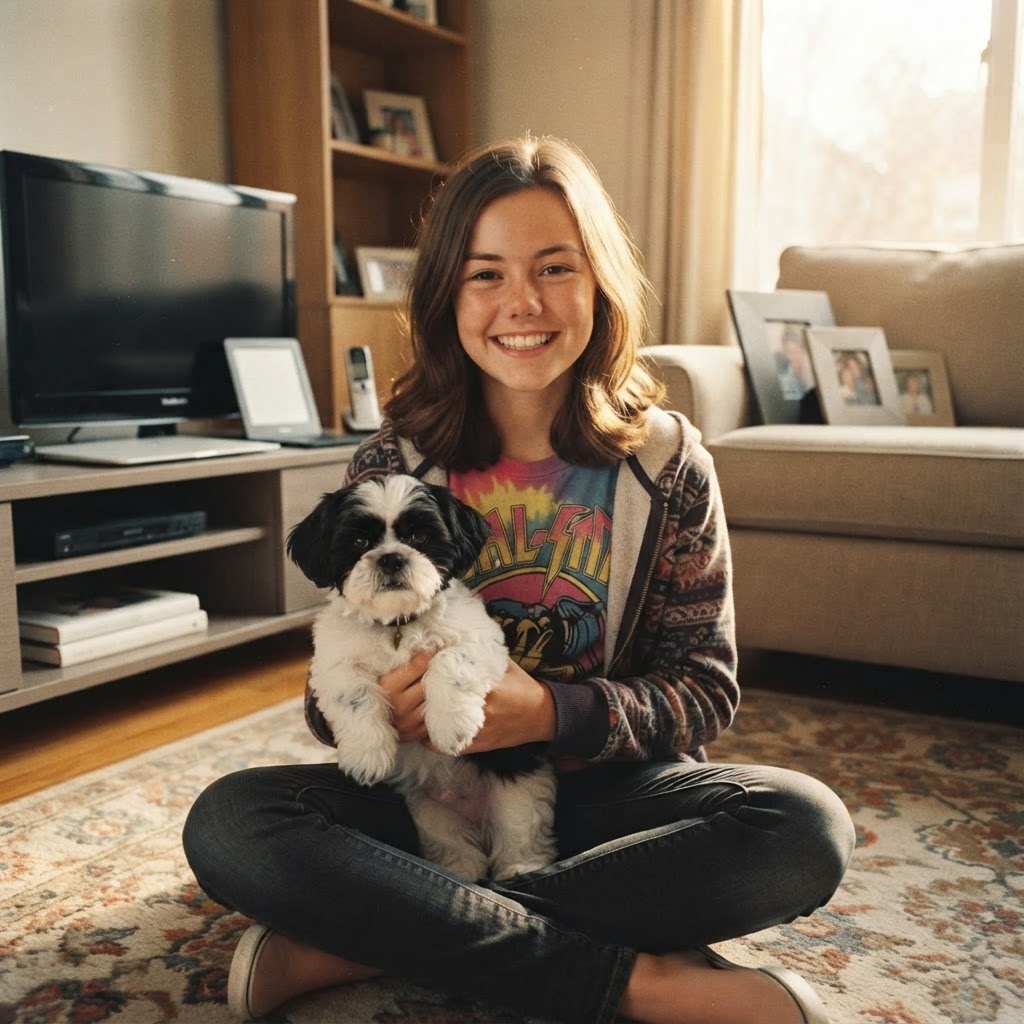
Fourteen, holding puppy Sophie — the joy of the first days, 2012-era living room (flat-screen TV, 2010s decor)
Shot 4
Memory B-roll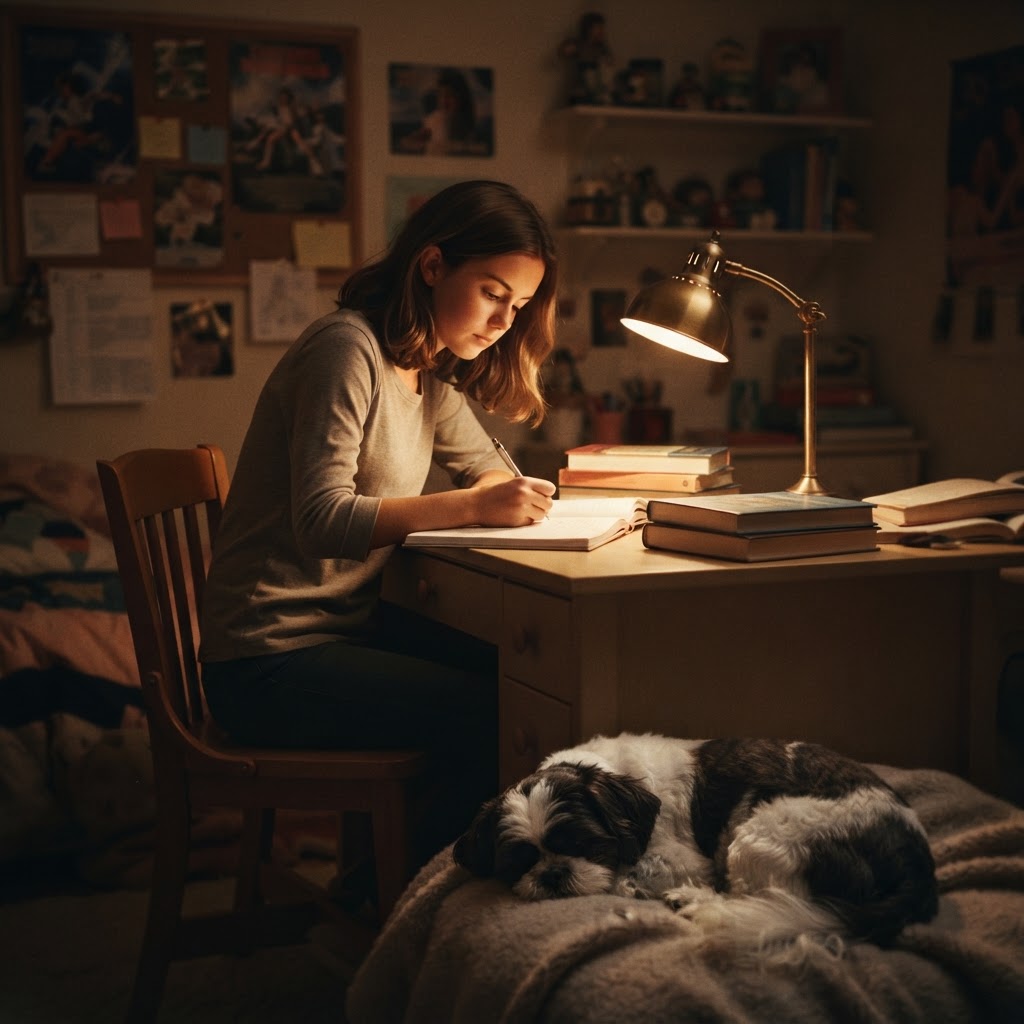
Studying at her bedroom desk, Sophie curled up beside her
Shot 5
Memory B-roll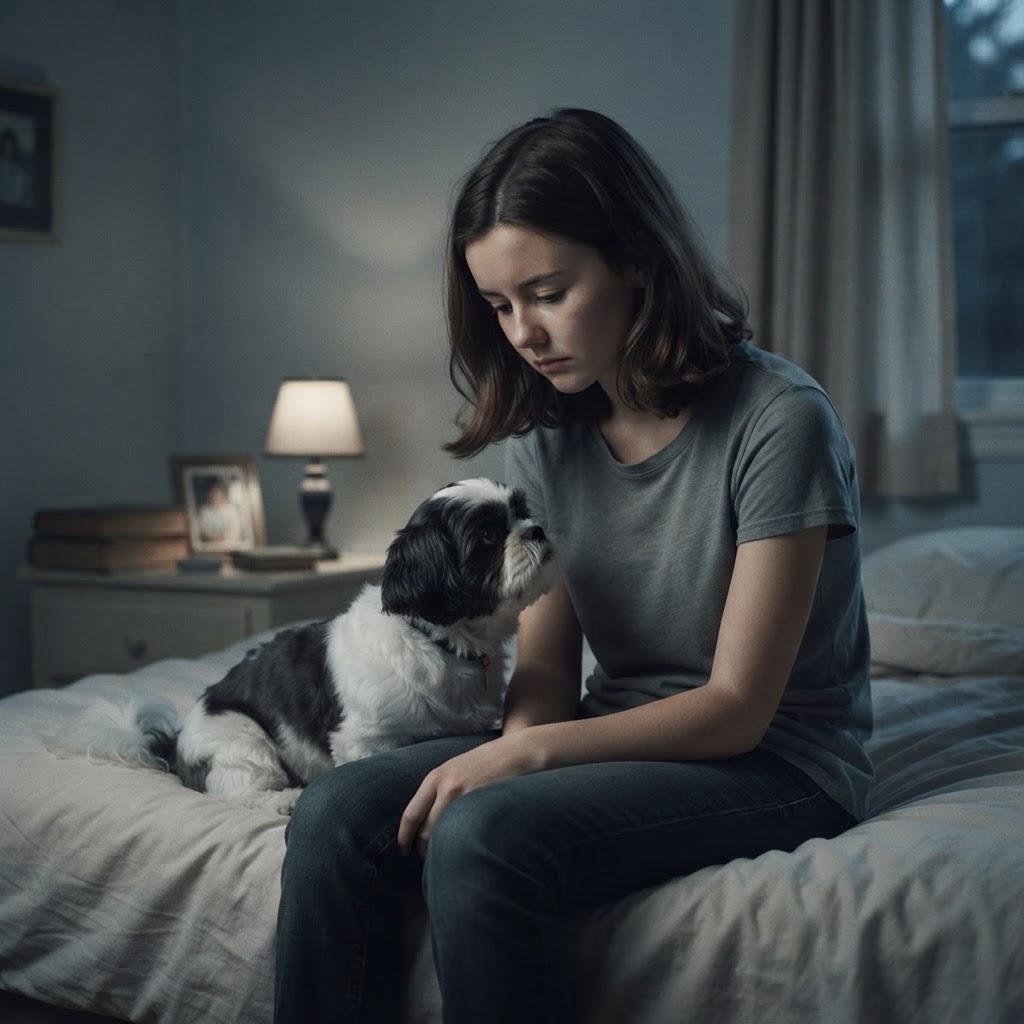
A difficult evening — Sophie leans close, quiet comfort
Shot 6
Memory B-roll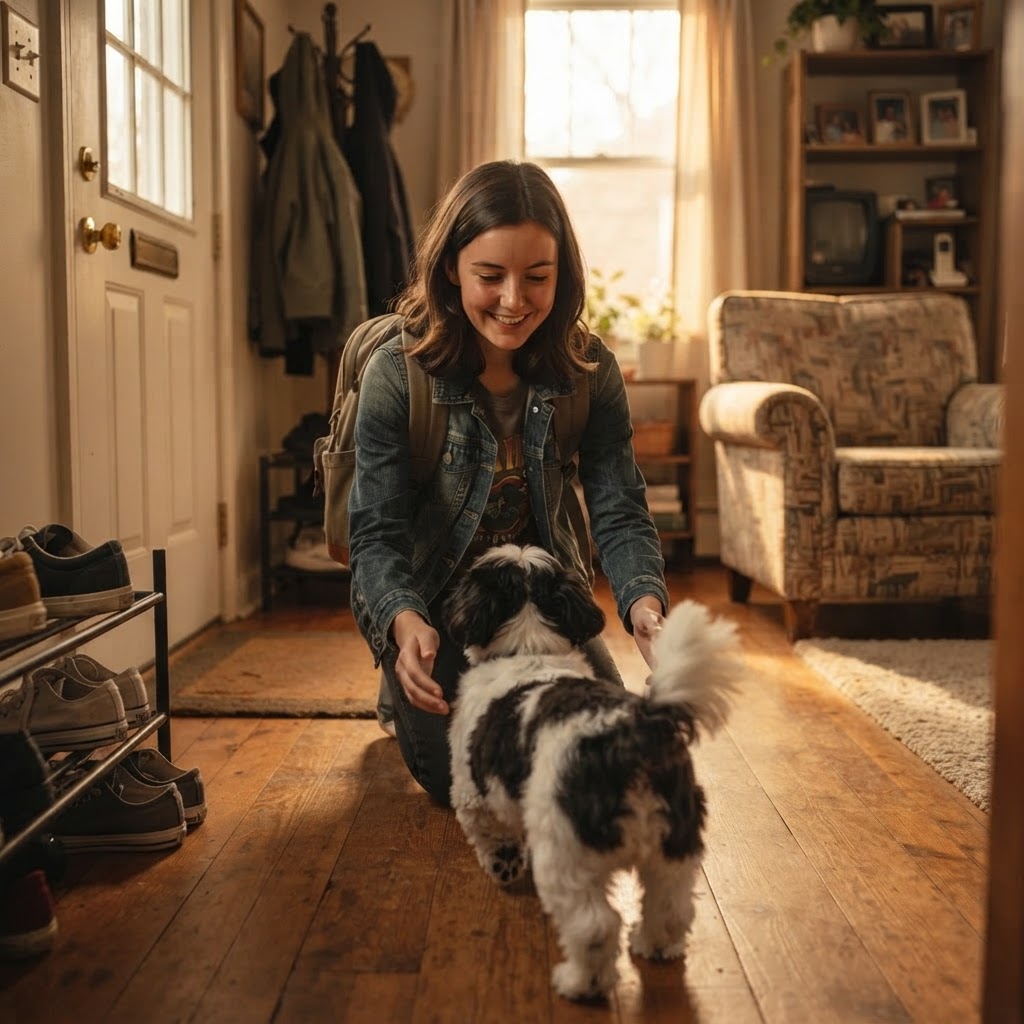
Coming home — Sophie's happy greeting at the door
Shot 7
Memory B-roll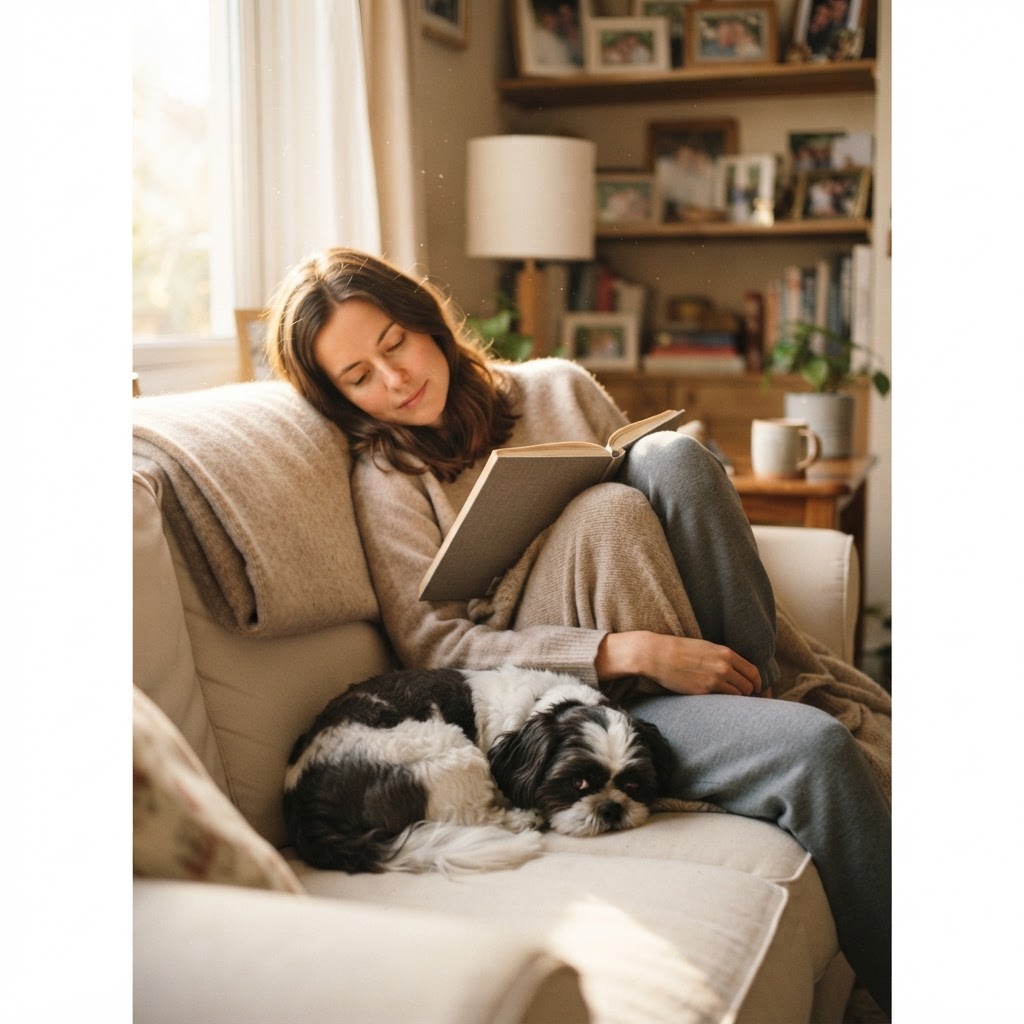
Sophie asleep beside her on the sofa, afternoon light
Shot 8
Memory close-up
Sophie resting her head on her lap, eyes closing
Shot 11
Laptop scene
Sharing Sophie's memories in StoriVault — lid away from camera, no fabricated UI
Shot 12
Spark More Memories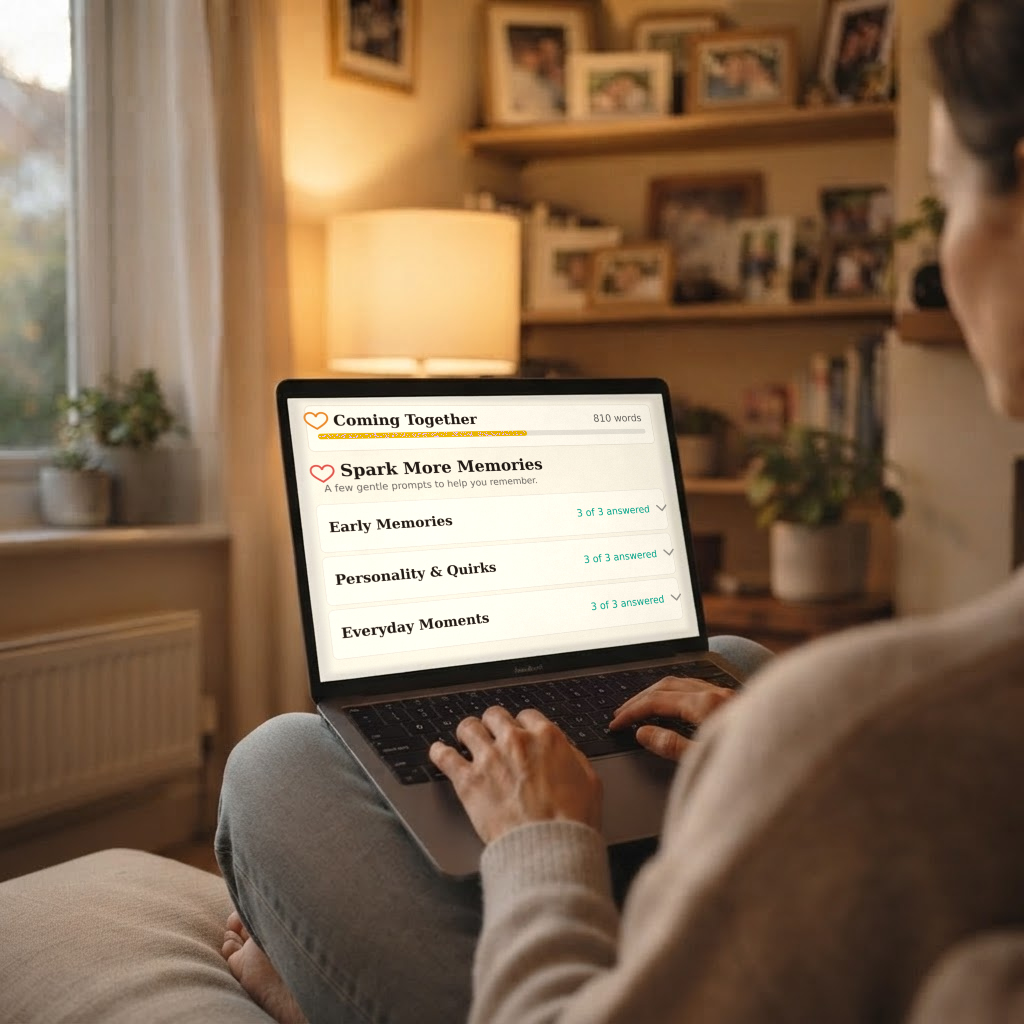
Over-the-shoulder close-up — the laptop screen to camera showing the real Spark form (Coming Together progress card with gold bar, Spark header, three prompt rows each teal "3 of 3 answered"), her hands on the keyboard typing
Shot 13
Interior pages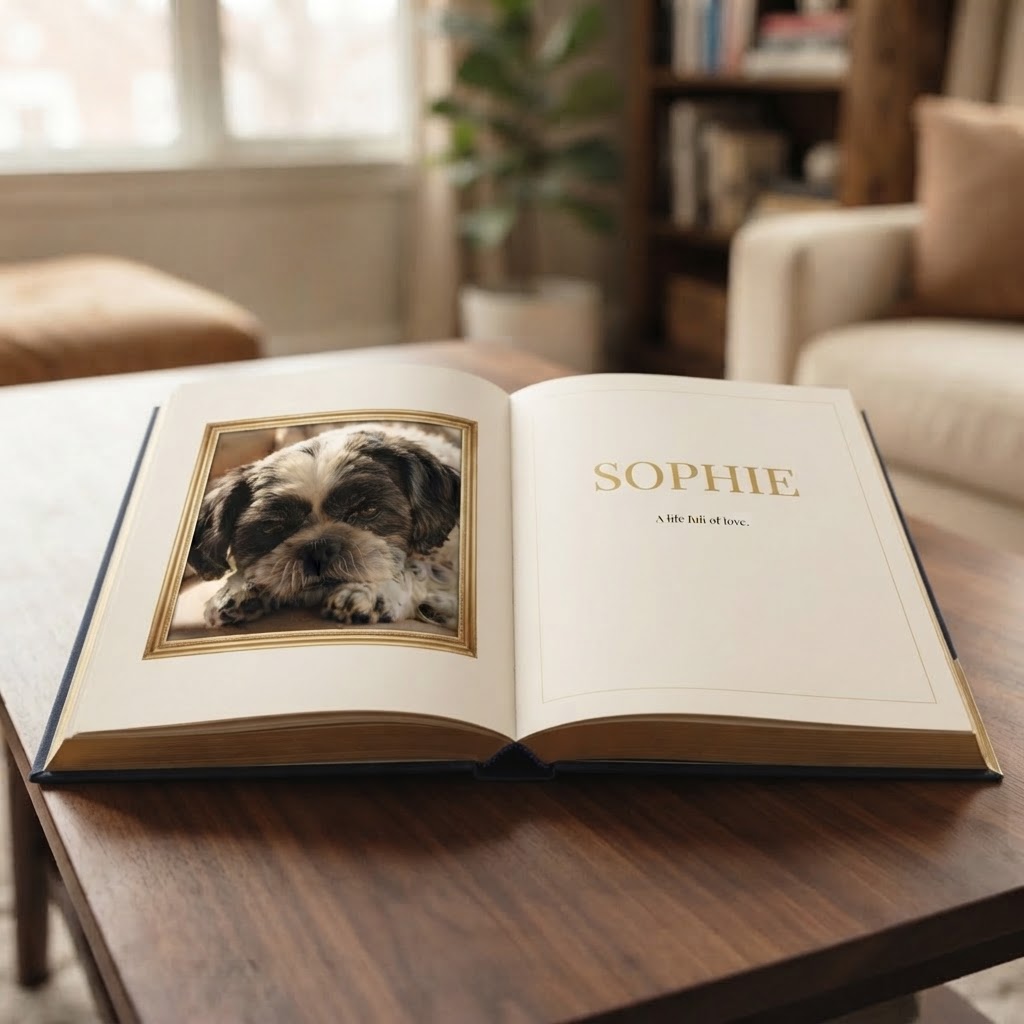
The finished tribute book's designed interior spread — sharp Sophie photo page beside the legible "SOPHIE — A life full of love." story line (retake 13-C); static tableau, no hands
Animated scene clip set
Each approved still animated image-to-video. Shots 2 and 14 carry their baked lip-sync dialogue (d1, d2); every other clip is muted, with VO and music laid over at assembly. Review for identity hold, natural movement, lip-sync accuracy, and absence of artifacts before Gate 4 assembly.
Shot 2
Shot 3
Shot 4
Shot 5
Shot 6
Shot 7
Shot 8
Shot 9
Shot 11
Shot 12
Shot 13
Shot 14
Already-locked visuals (no regeneration)
These shots use Gate 1's locked references directly — shown for continuity review only.
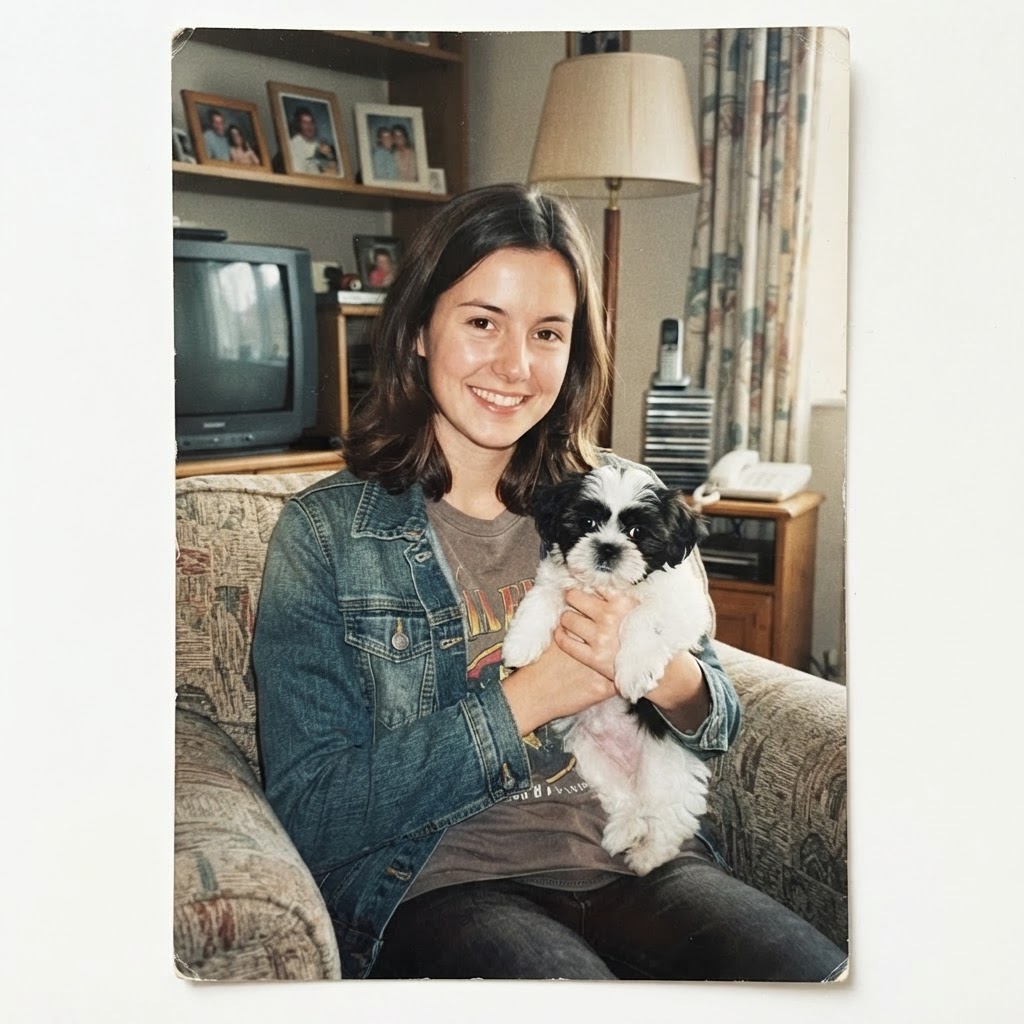
Shot 1 — opening photograph
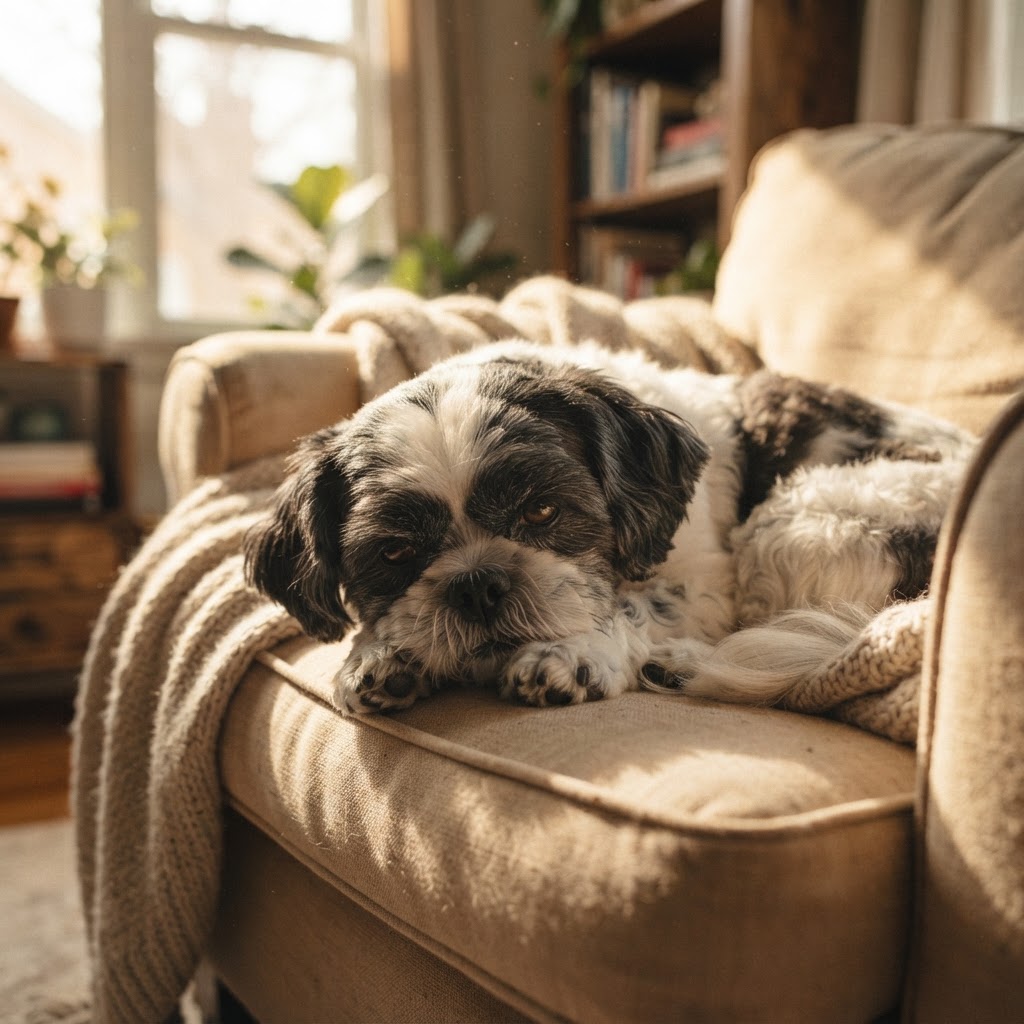
Shot 10 — senior Sophie, resting in her favorite armchair
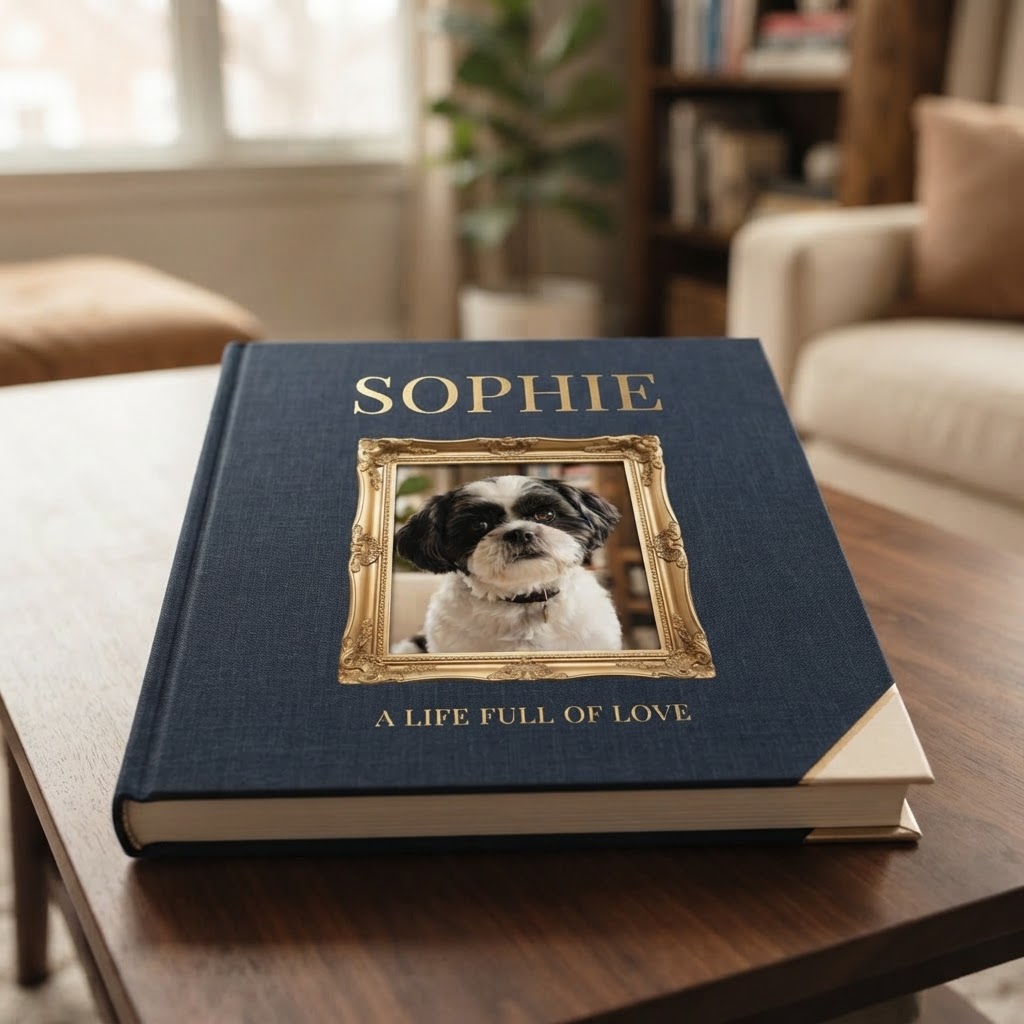
Shot 12 — book reveal (product reference)